Podaegi Tutorial
Links are to unaffiliated websites. Please review our basic construction safety tips and safe fabric information before attempting to make a carrier.- (Downloadable PDF) Angelas_Turkish_Towel_Podaegi.pdf (Created by Angela McReynolds)
- Pod Tutorial
- Sleeping Baby Productions wide blanket podaegi
- Reversible Wrap Pod or Mei Pod
- Good Families Do Blog Podaegi Tutorial
- Sew She Sews Blog Podaegi Tutorial
- Front Carry Podaegi - Kangaroo and FWCC style
- Podaegi Newborn Front Torso Carry
- Podaegi Hip Carry - Robins and Standard
- Basic Ruck Back Carry with a Podaegi
- Back Torso Carry with a wide blanket podaegi
- Choosing strap fabric
- Choosing blanket fabric
- Optional: Cutting layouts
- The Strap
- The Blanket
- Assembly
- Learn to use it
- More tutorials (outside links)
Choosing Strap Fabric
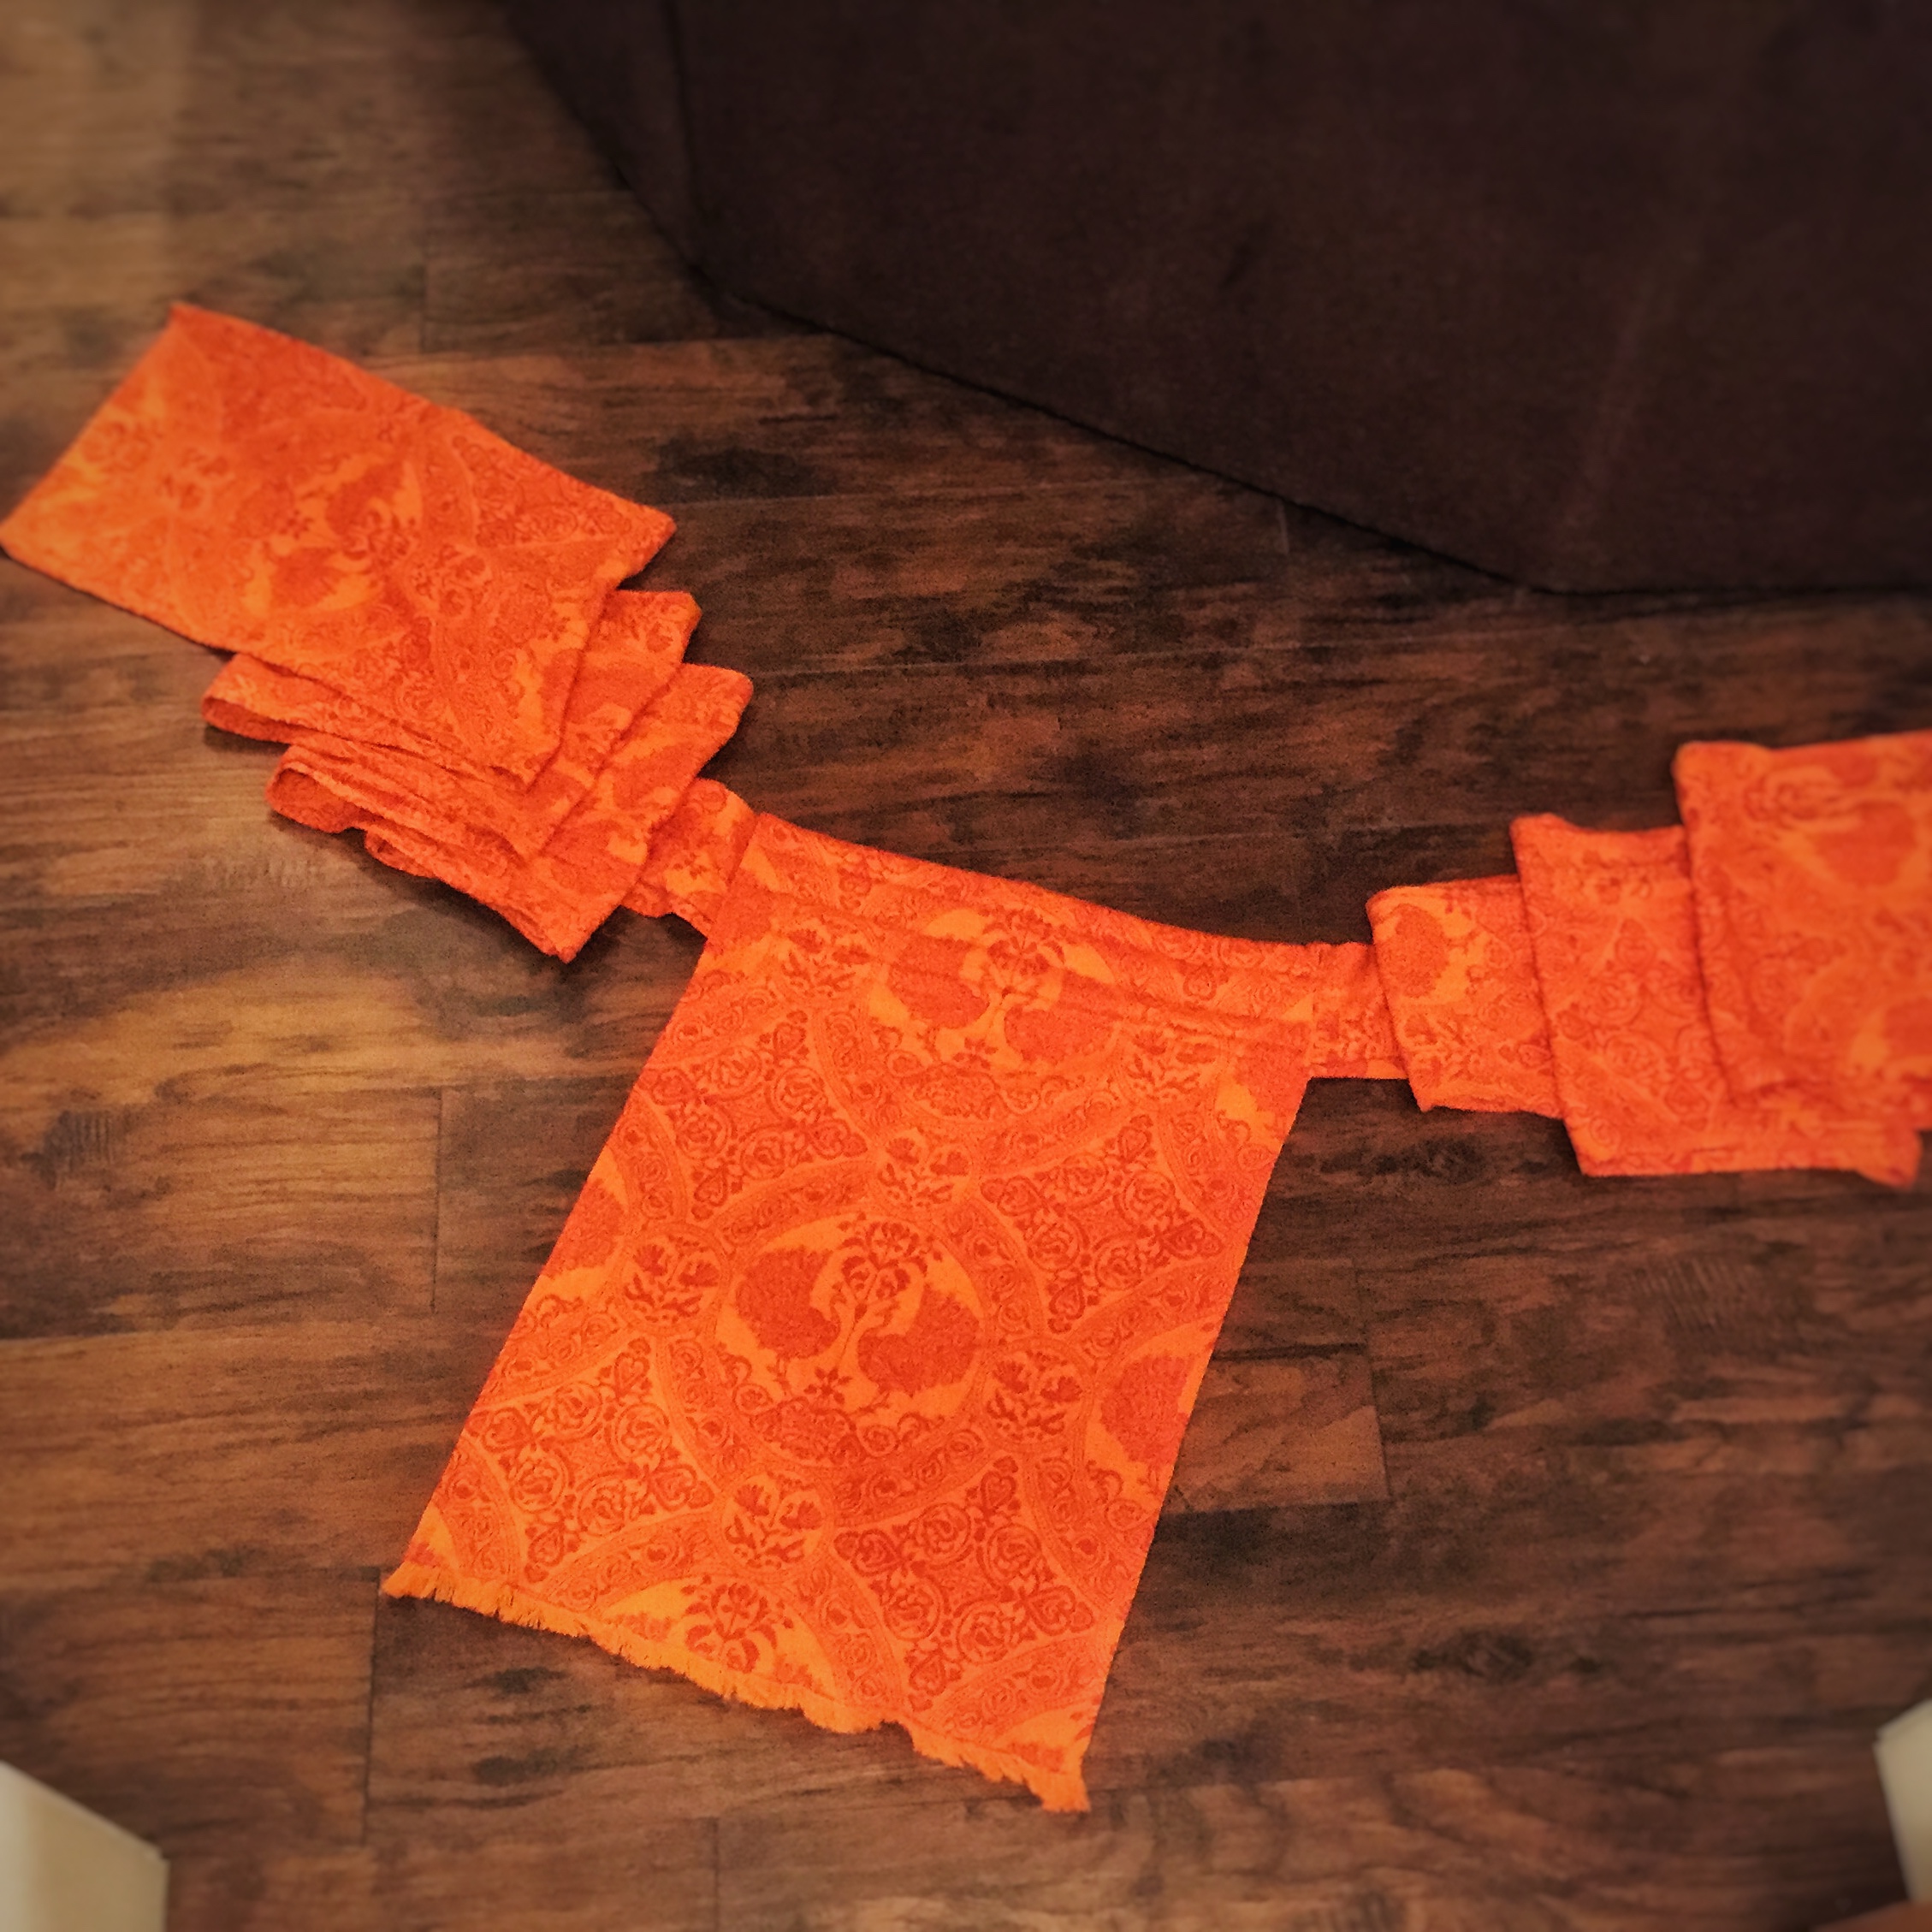
The strap of your podaegi is the primary weight-bearing portion of the carrier. You want a strong, sturdy, wrap-worthy fabric. You can read more about your choices on the page about fabric selection but great options for this project would be patterned duck cloth, a printed or jacquard tablecloth, or bottomweight linen. While a podaegi appears to have two separate straps, a traditional podaegi and the one we are making in this tutorial are constructed with one long, continuous strap. The desired length of this strap should be equivalent to somewhere between a base-2 or base size wrap. Aiming for your base size is a good goal for length. For most average sized women, their base size is a size 6 wrap - 181" long, or 4.7 meters. That's a lot of fabric, so one completely feasible option is to use two shorter pieces and seam them together in the middle. (More on this later, but always be sure to use a reinforced seam like a flat felled seam or french seam.) In this case, you would simply need enough fabric to get two 90" or so straps. For width, while you can make them as wide or narrow as you like, a good happy medium is around 12"-15".Summary: one strip of bottomweight, wrap-safe fabric approximately 180" long and 15" wide, or two strips 90" long and 15" wide.
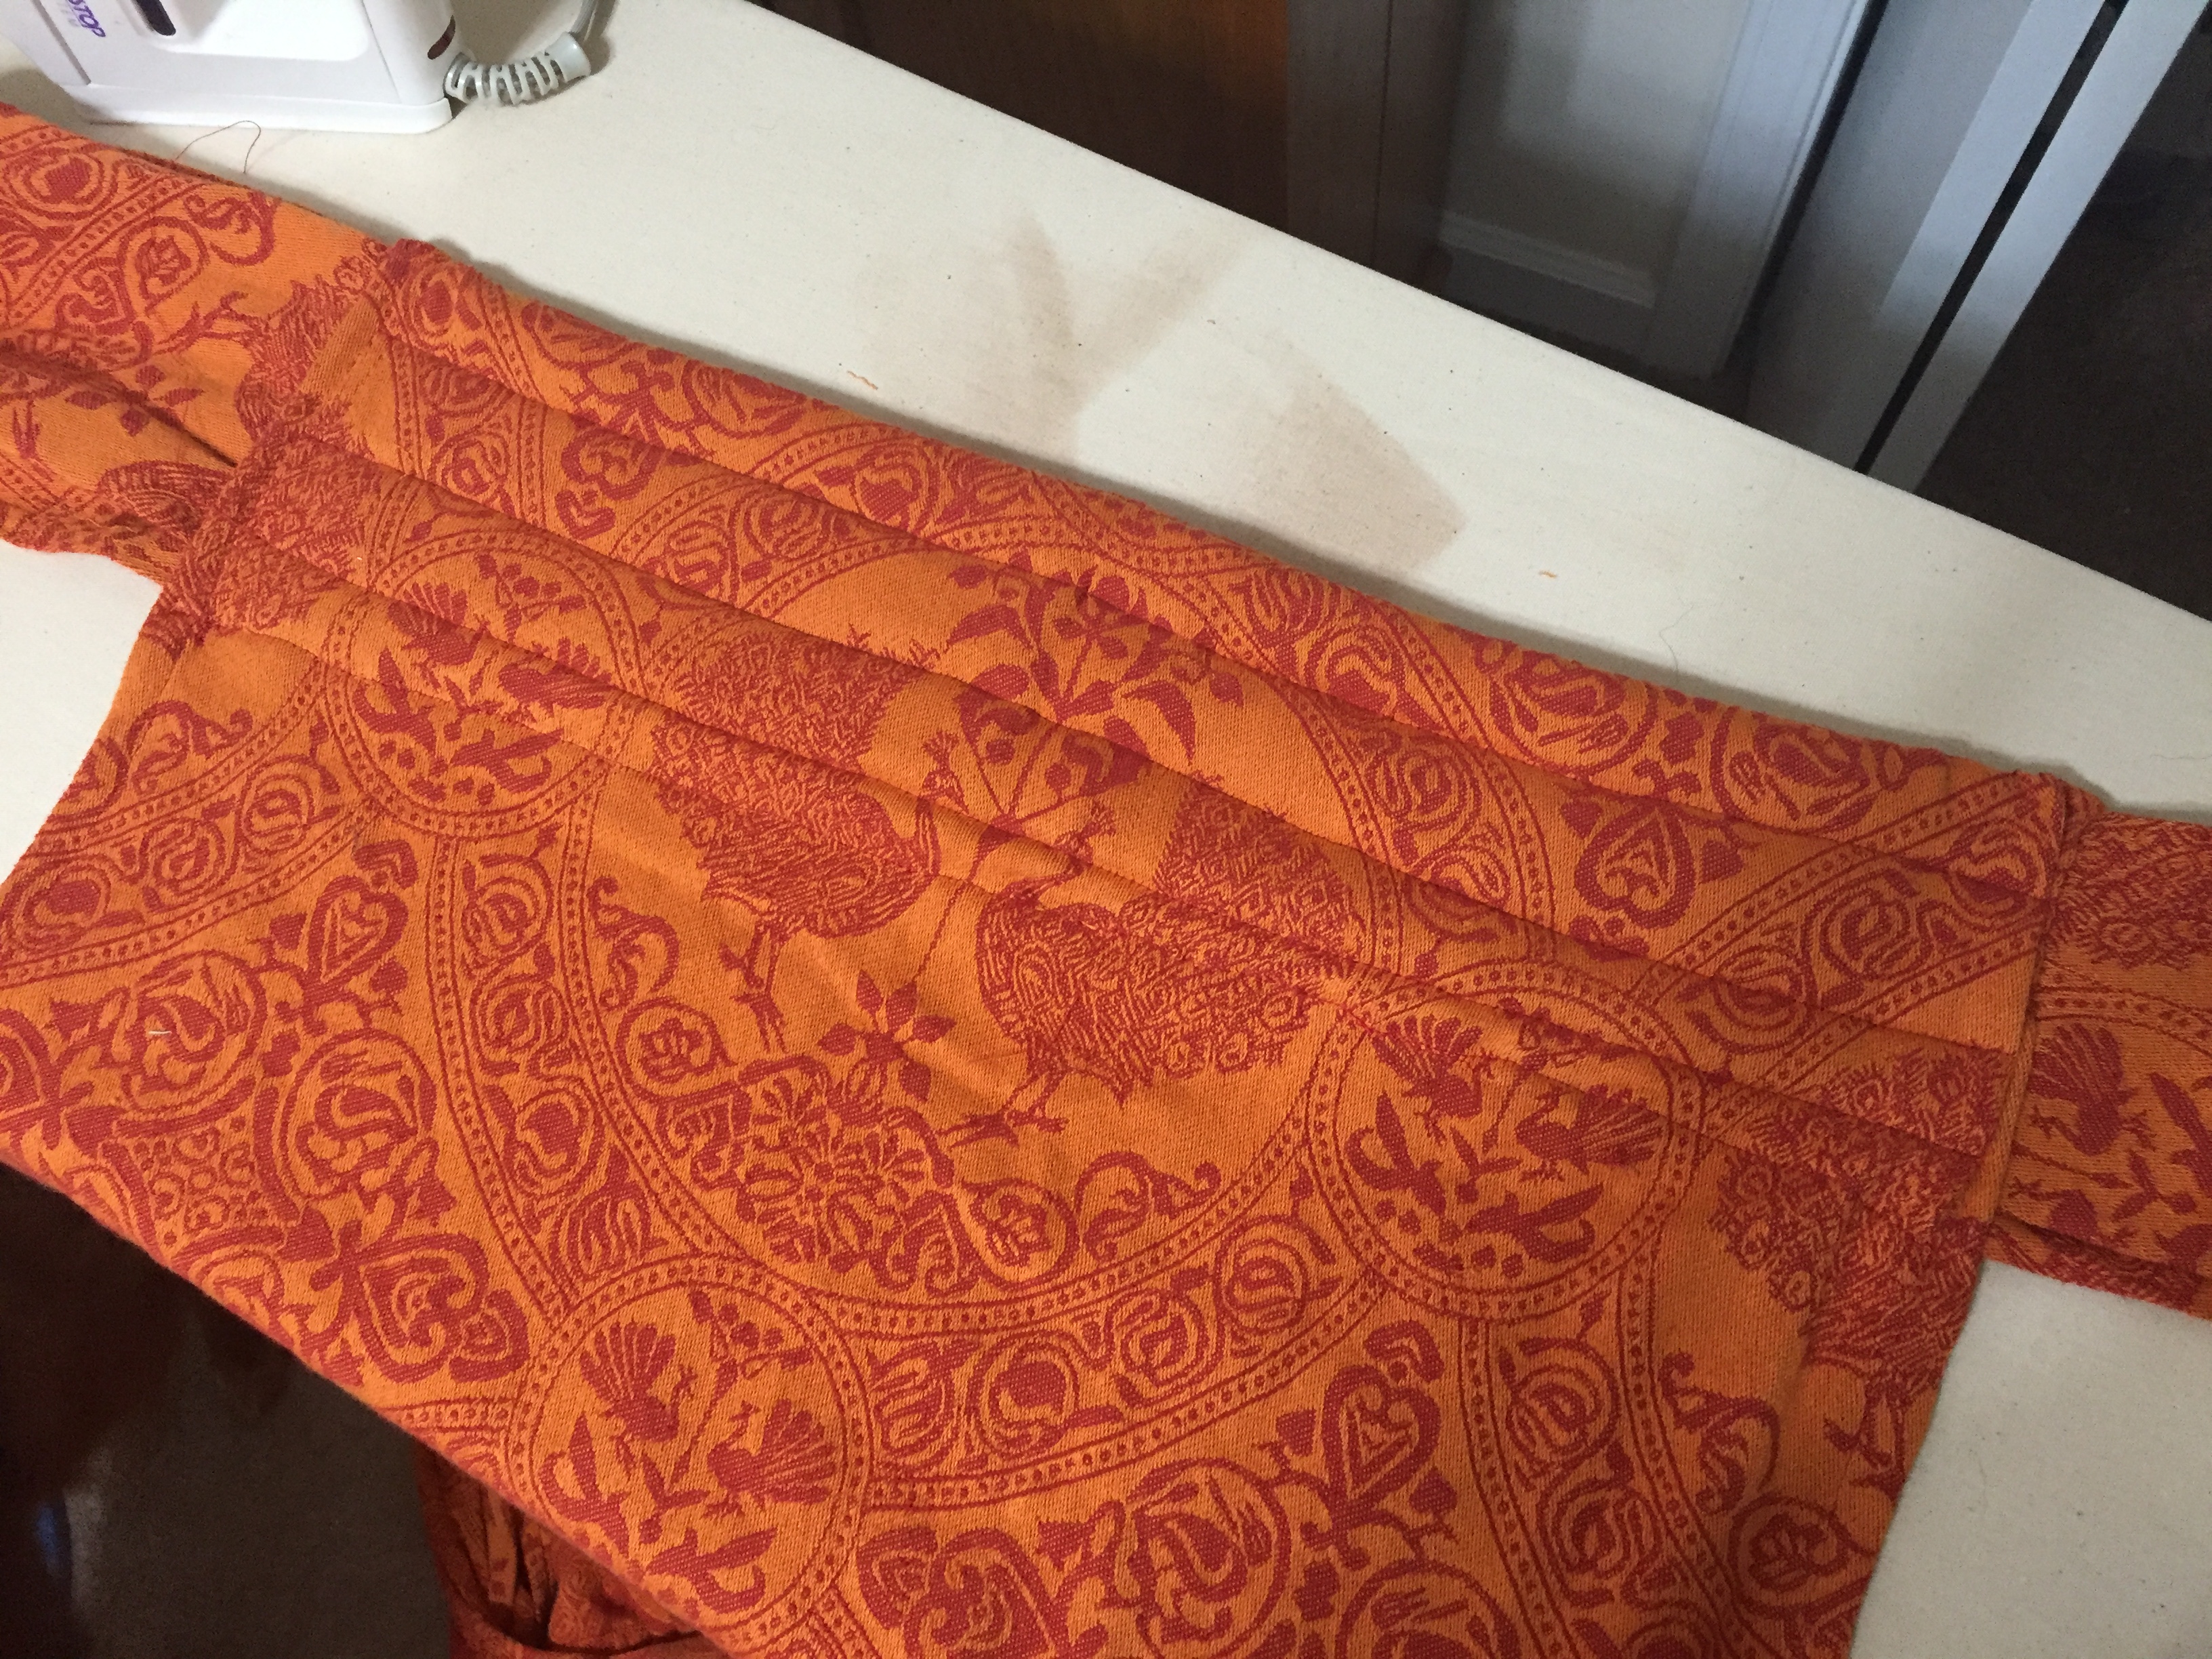
Choosing Blanket Fabric
The easiest option is to simply use the same fabric as you are using for your straps, but a unique aspect of a podaegi with a traditional, continuous strap like this is that the blanket is not weight bearing. What does that mean? It means that you can use pretty much anything you want to use. Quilter's cotton, a soft throw blanket, fleece, mesh. I briefly considered making a wide-blanket podaegi (where the blanket would wrap around us both) with some thick, padded and quilted fabric in the utility section just for winter use! As far as the size goes, 30" is a pretty good length that will work for most babies. Podaegi blanket panels are very flexible and can be used newborn-toddler. You'll want to add another 6" or so to this height for the amount that will be folded over the top, so you want a total blanket size starting out of 36" high. As far as width goes, a narrow-blanket podaegi (which is more common in Western culture) is between 15" and 25" wide (again, flexible.) A narrow-blanket podaegi will allow you to have a little more versatility in how you wrap with it, plus will breath a little better in the heat. A wide-blanket podaegi is a more traditional style. It is typically tied as a torso carry (although there are other ways to tie it) and the blanket wraps all the way around both baby and the wearer. This can be good for cooler climates or a more traditional looks. It can also be particularly pretty with things like patterned silk, so the wrap around looks very dress-like. The length would be the same as above, but the width would be approximately 60" wide.Summary: Narrow blanket approximately 20" wide and 36" long, or a wide blanket 60" wide and 36" long, made out of any fabric desired.
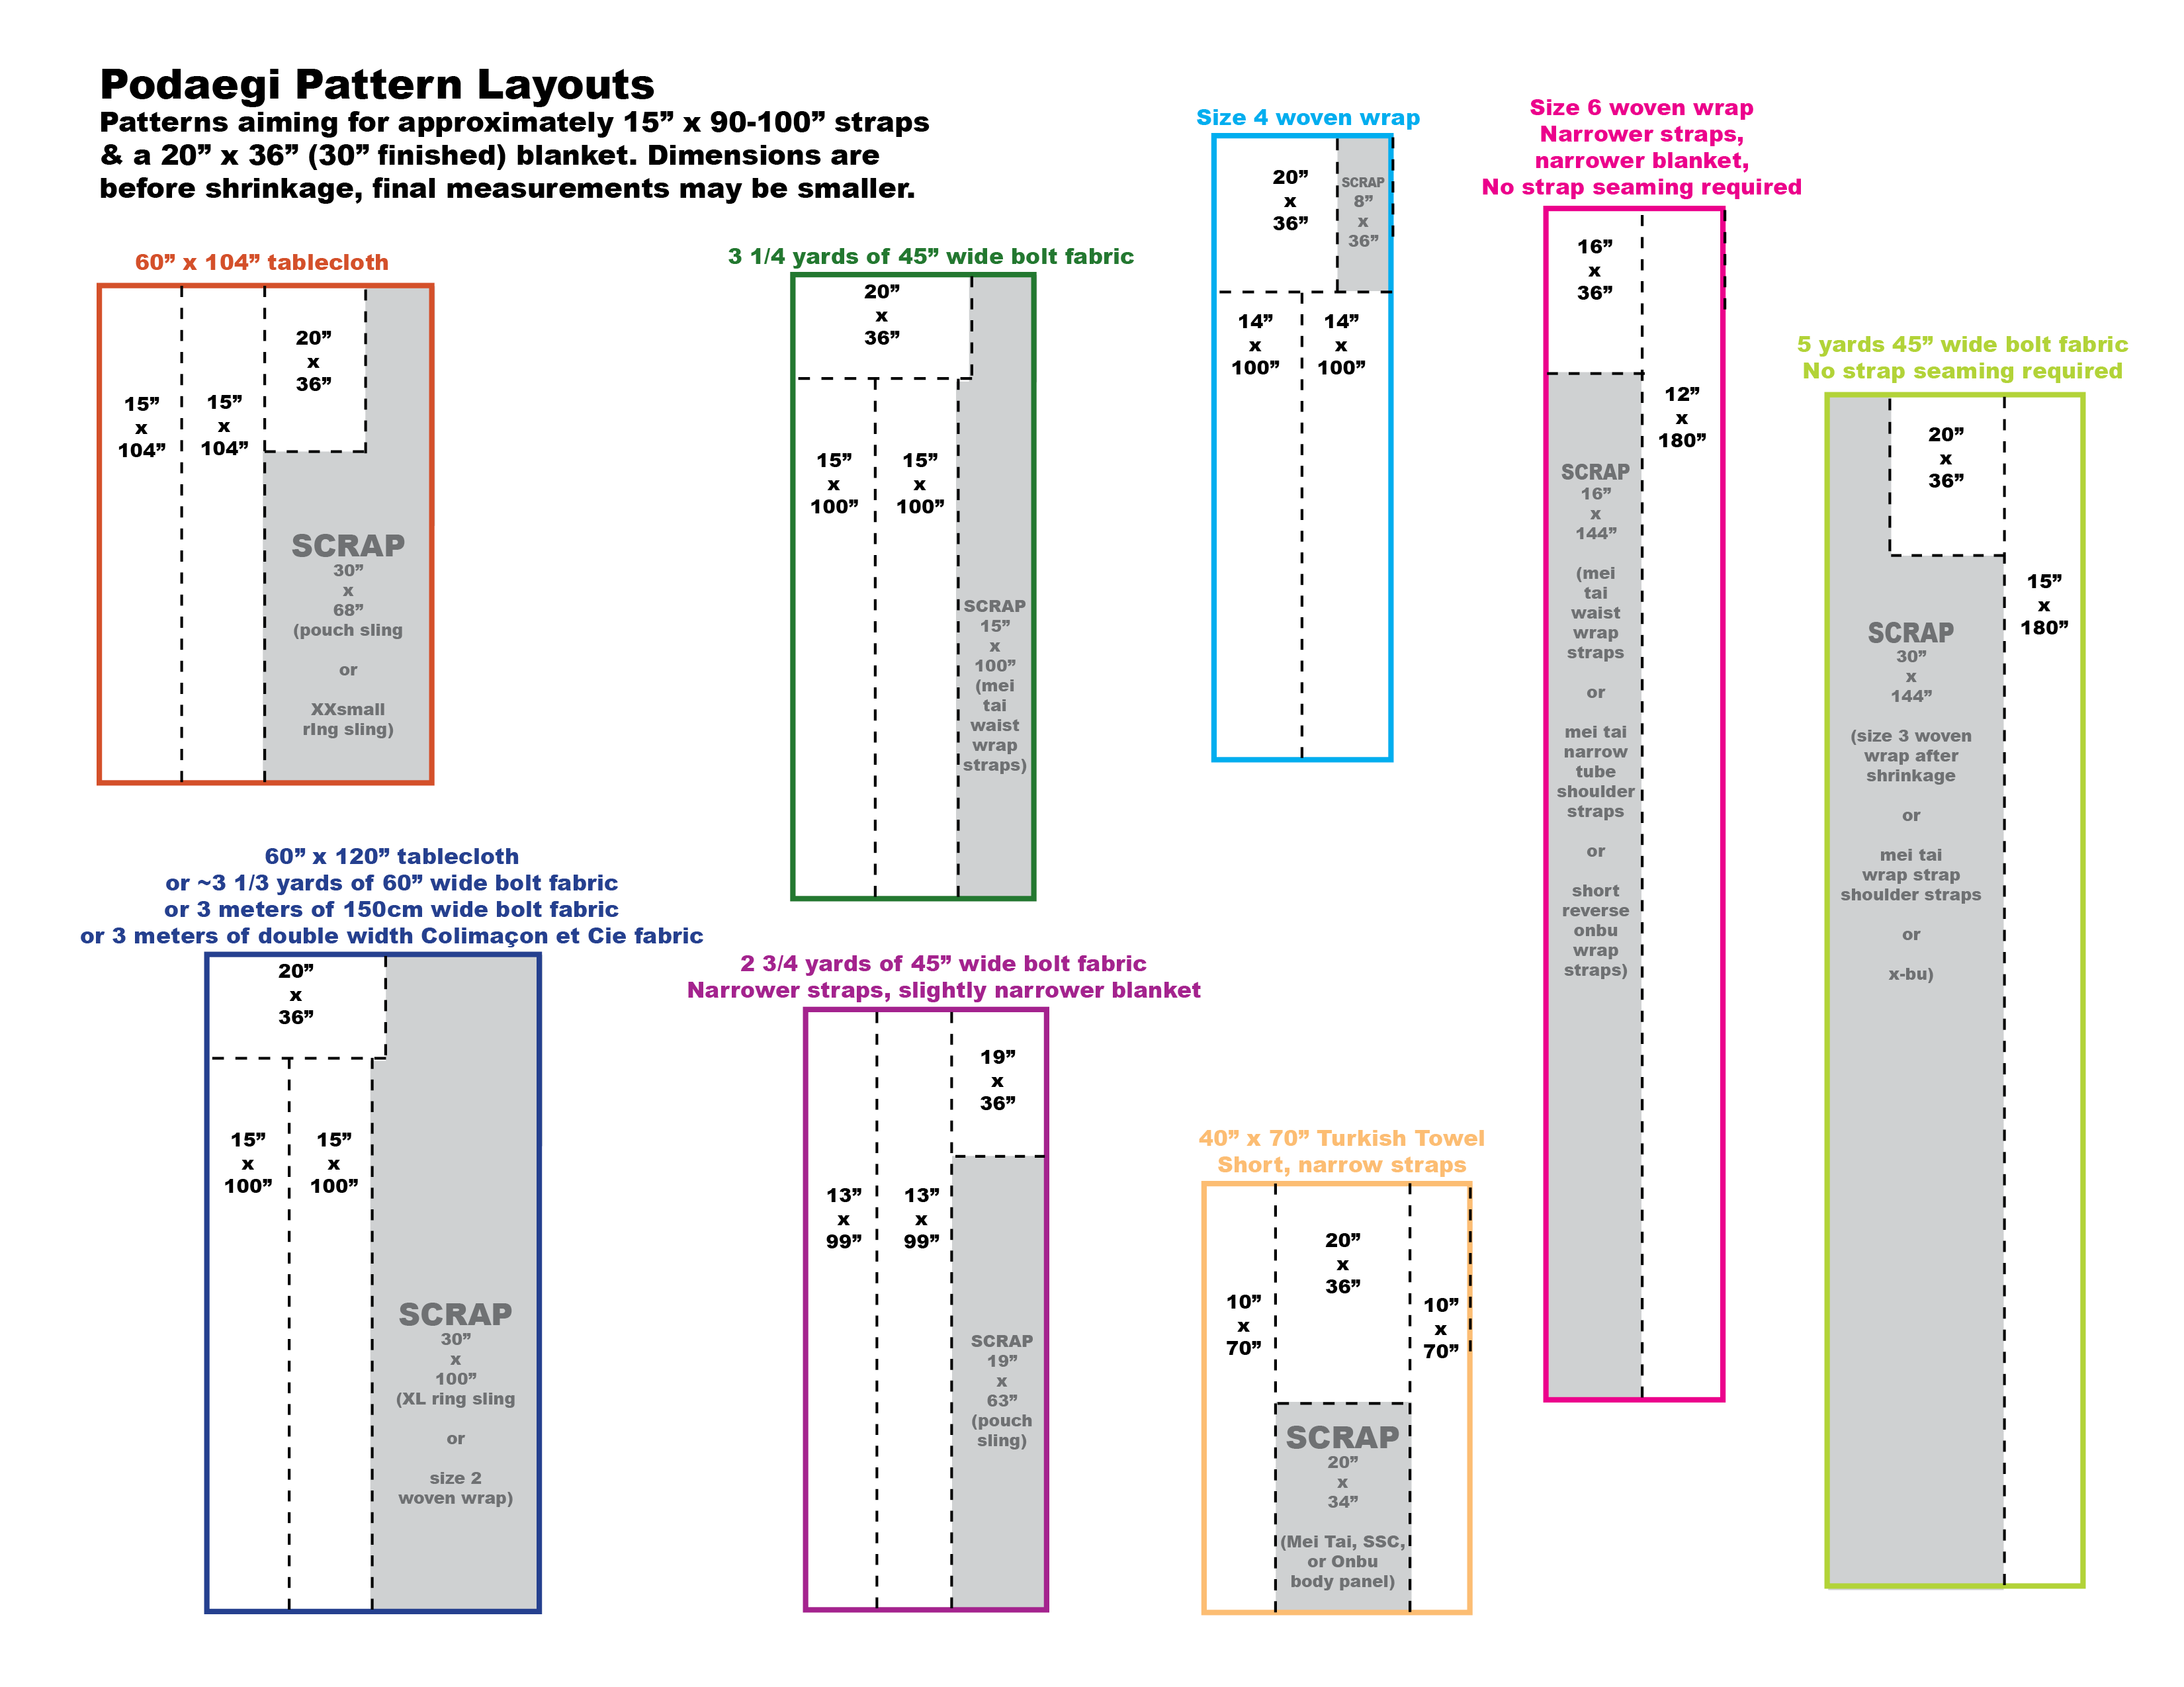
Bonus: Cutting Layouts
Trying to figure out how much fabric you need? Hopefully this will help.
The Strap
Step 1
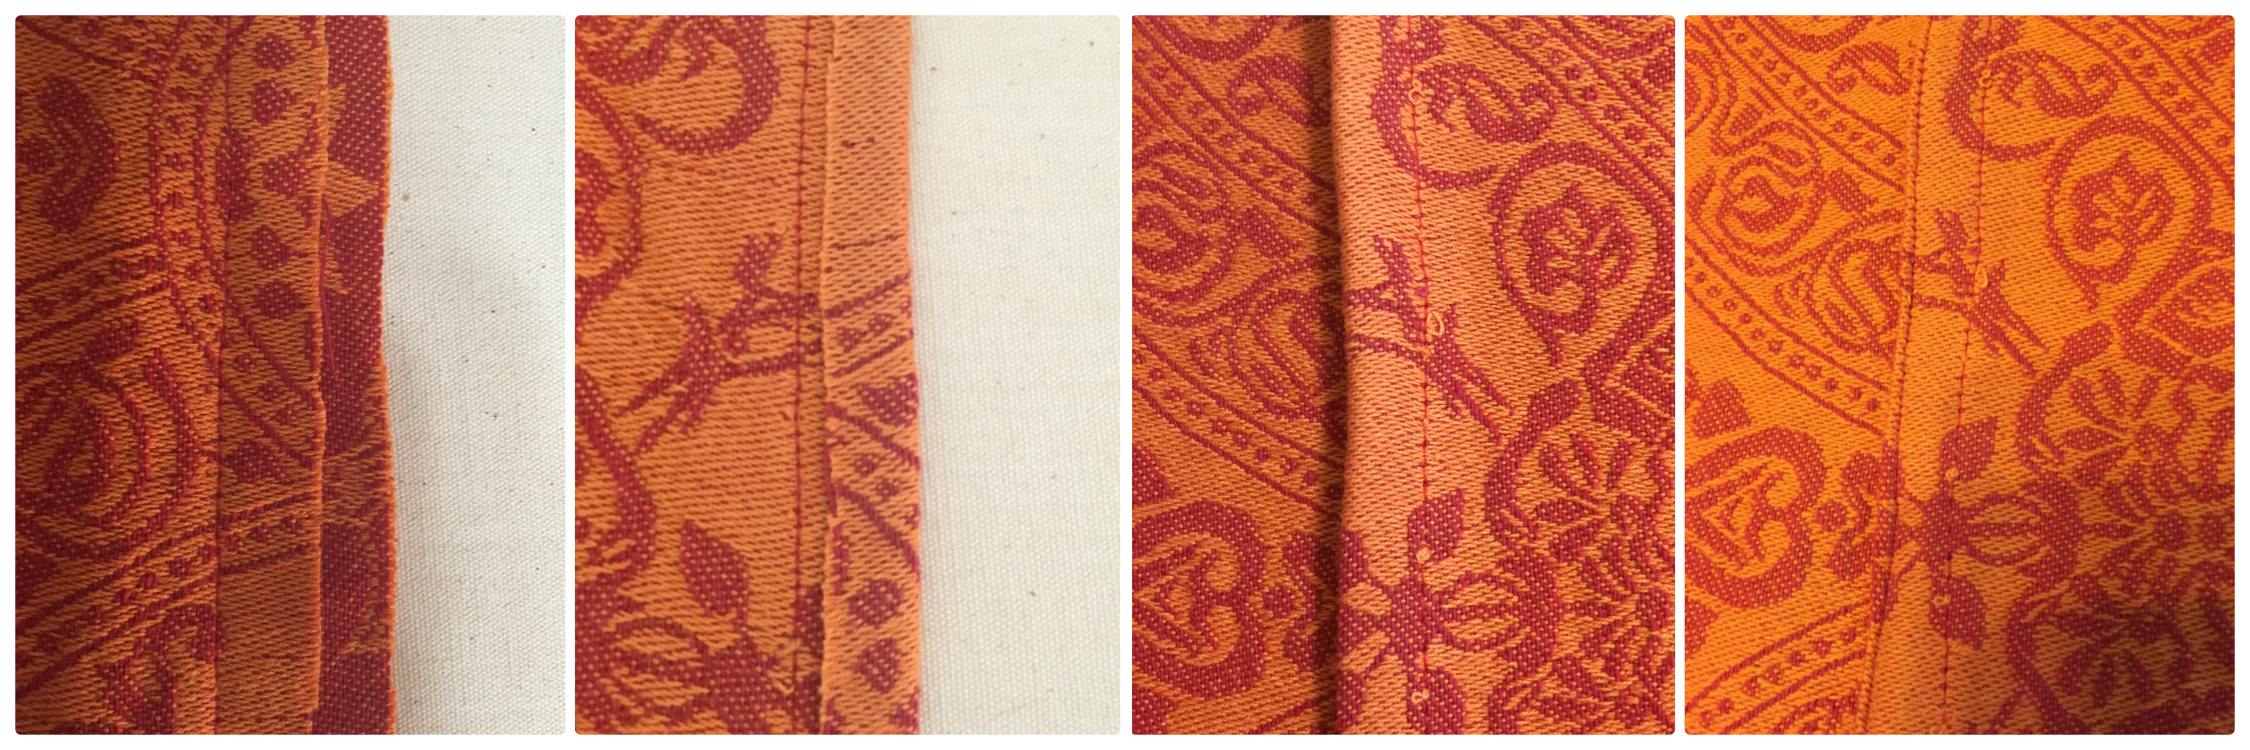
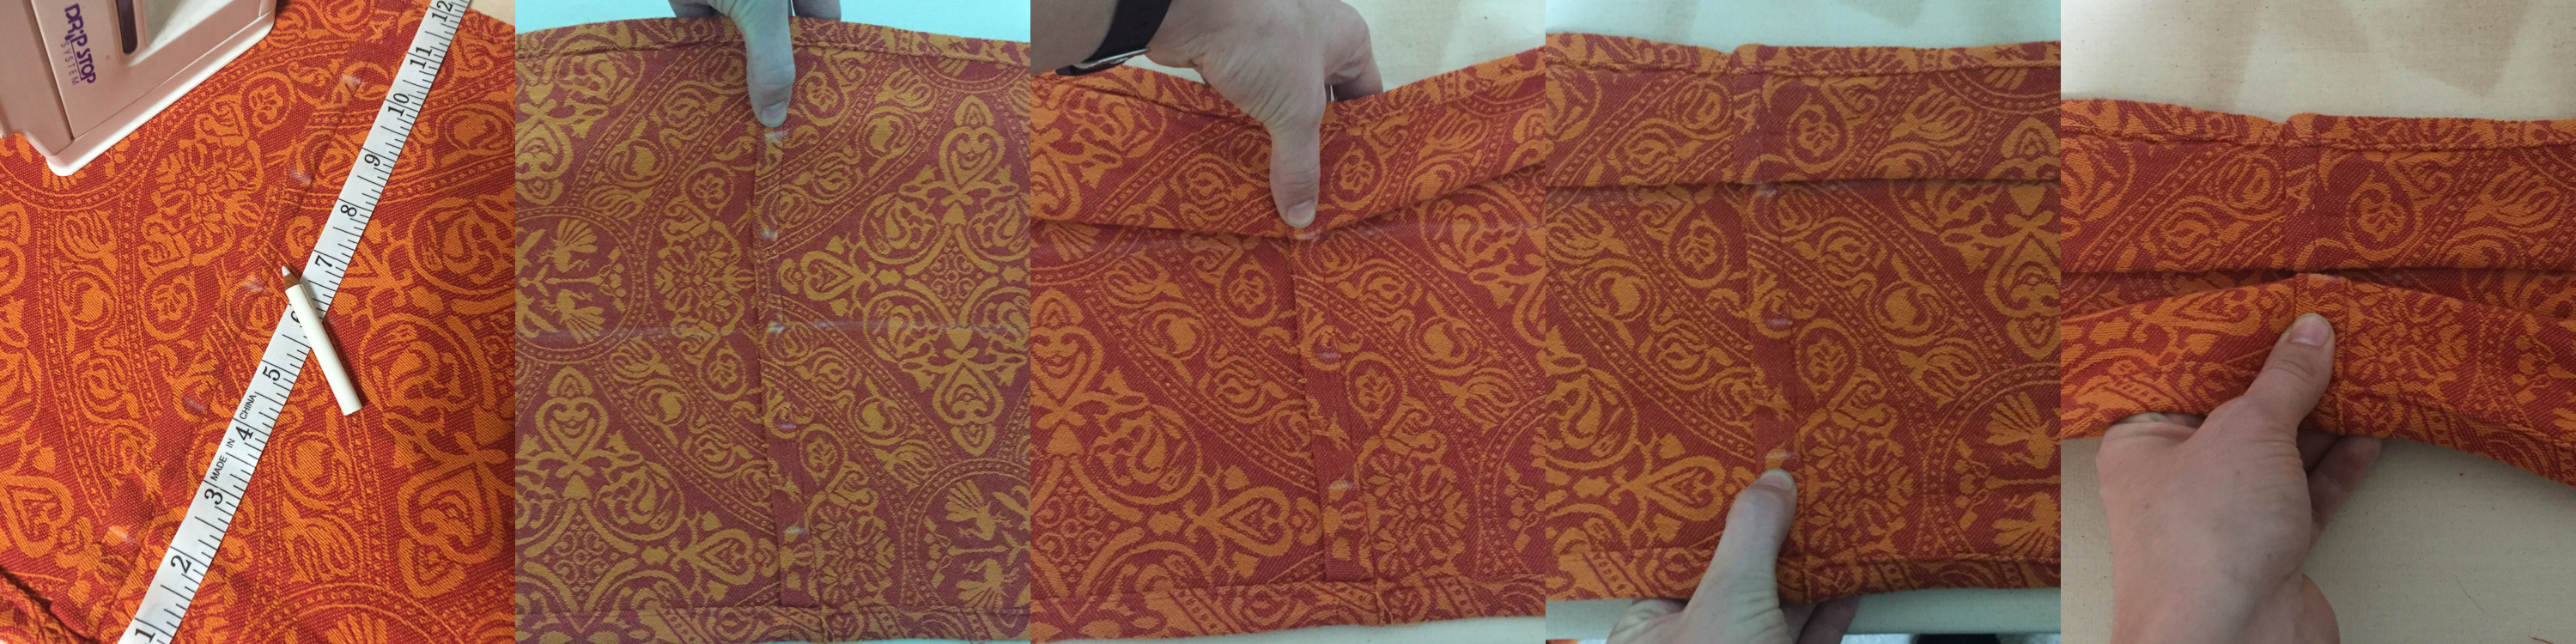
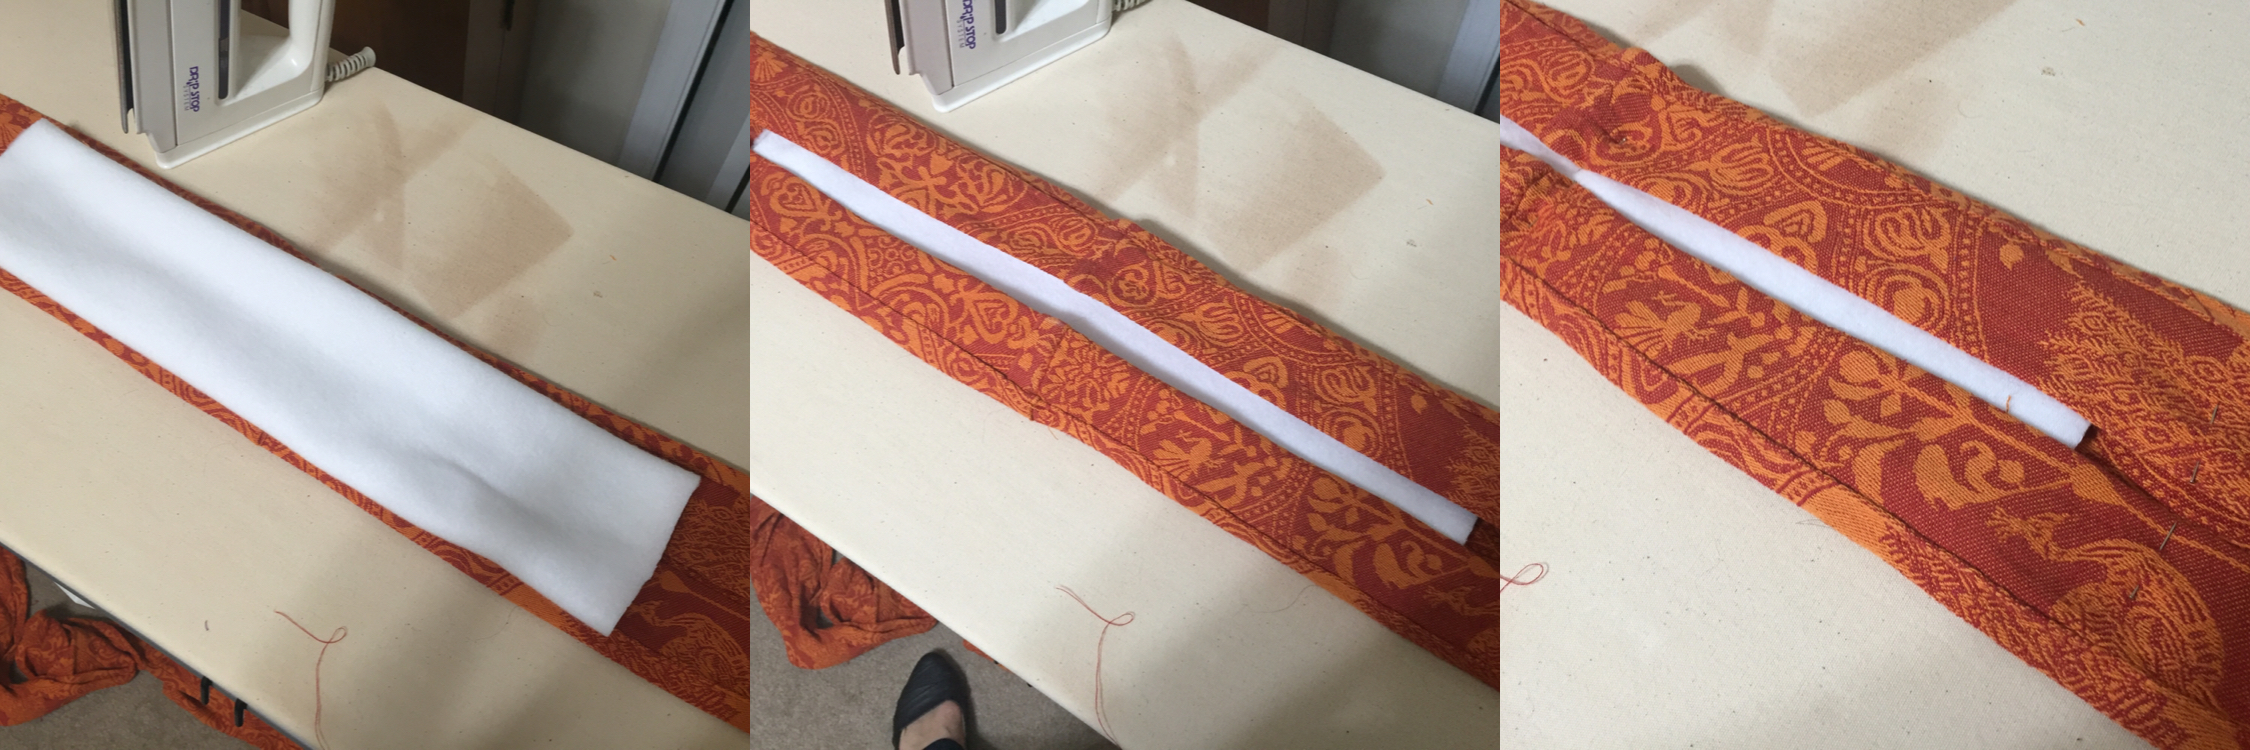
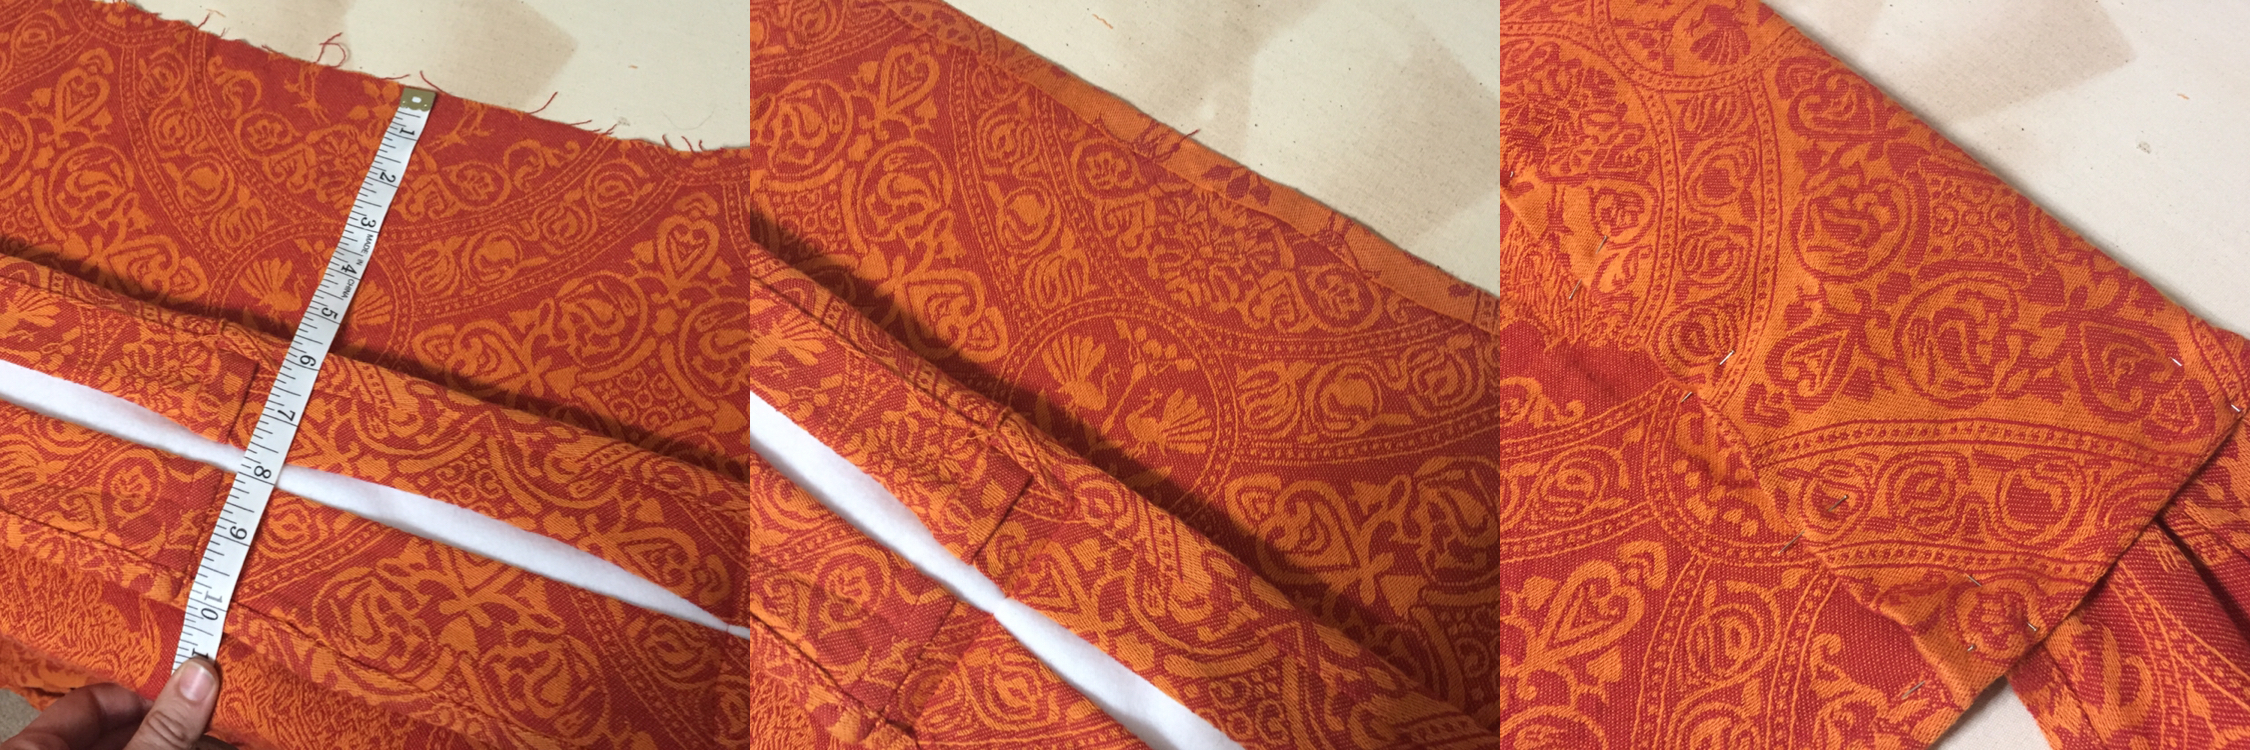
If you are starting with one long, continuous piece for your strap, skip to step 2. Otherwise, continue reading. To join your two strap pieces into one long length, you'll want to use a reinforced seam such as a flat felled seam or a french seam. Jan from Sleeping Baby Productions has an excellent video here on YouTube for these, but I'll show you a visual here as well. For a flat felled seam especially, you'll want to start with the cut edges as straight as possible. The best way to do this with a woven fabric is to remove a weft thread and then cut along the line it left. Typically when using a flat felled, seam, you would start with the --

| I | Attachment | History | Action | Size | Date | Who | Comment |
|---|---|---|---|---|---|---|---|
| |
Angelas_Turkish_Towel_Podaegi.pdf | r1 | manage | 342.1 K | 2016-09-11 - 15:09 | AlyssaLeonard | |
| |
Photo_Sep_24_10_47_16_PM.jpg | r1 | manage | 3072.3 K | 2016-09-26 - 00:50 | AlyssaLeonard | |
| |
Photo_Sep_24_10_47_58_PM.jpg | r1 | manage | 3169.3 K | 2016-09-26 - 00:50 | AlyssaLeonard | |
| |
Photo_Sep_24_10_52_57_PM.jpg | r1 | manage | 1172.3 K | 2016-09-26 - 00:50 | AlyssaLeonard | |
| |
Photo_Sep_25_8_31_43_PM.jpg | r1 | manage | 2335.4 K | 2016-09-26 - 00:51 | AlyssaLeonard | |
| |
Photo_Sep_25_8_33_19_PM.jpg | r1 | manage | 3043.8 K | 2016-09-26 - 00:51 | AlyssaLeonard | |
| |
Photo_Sep_25_8_34_51_PM.jpg | r1 | manage | 1867.6 K | 2016-09-26 - 00:51 | AlyssaLeonard | |
| |
Photo_Sep_25_8_37_12_PM.jpg | r1 | manage | 2434.1 K | 2016-09-26 - 00:52 | AlyssaLeonard | |
| |
podaegi_cuttinglayouts.png | r2 r1 | manage | 256.5 K | 2016-09-26 - 01:17 | AlyssaLeonard |
Topic revision: r7 - 2016-09-26 - AlyssaLeonard

Ideas, requests, problems regarding TWiki? Send feedback